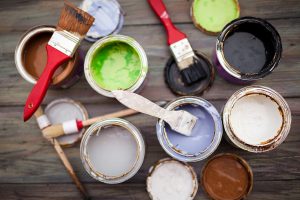
When it comes to painting your walls, preparation is a crucial part of the job. This is why applying an undercoat is essential, particularly when painting a new wall. An undercoat provides a smooth layer for paint to stick to and makes the surface flatter, seals in stains, and fills in the grain.
In this article, we will explain what an undercoat is, what is the difference between primer and undercoat, and the proper way to apply an undercoat.
What is an Undercoat?
An undercoat is a material used to create a neutral base to showcase the color of your paint better. Undercoats, sometimes referred to as mid-coats, are used on coated surfaces, particularly wood, to cover the imperfections. They are pigmented and recommended to be used with enamel topcoats for best results.
Undercoats, when applied over primer, can establish a tough, resistant barrier against moisture and forms a perfect base for paint to adhere to.
What is the Difference Between Primer and Undercoat?
The terms “primer” and “undercoat” are often used interchangeably. While they are both used for the preparation of surfaces before painting, they have different functions.
Basically, primers are used to improve the porosity of a surface and ensure maximum adhesion to get perfect results. Meanwhile, undercoats create a flat and level base for your top coat to stick to.
Remember, an undercoat is always a primer, but a primer is not always an undercoat.
How to Apply Undercoat
If you’re planning to undertake a DIY home painting project, these are the steps that you should follow to properly apply an undercoat.
1. Prepare your tools and materials.
These are the tools you need for applying undercoat:
- Paint brushes
- Paint rollers
- Paint stirrer
- Paint tray and disposable liner
- Paint scraper
- Extension pole
- Filling knives
- Orbital sander
- Sanding block and float
- Painter’s tape
- Ladder
- Bucket of water
- Clean rags
- Drop sheet
- Dust mask
- Safety glasses
You also need to buy these materials:
- Undercoat
- Filler
- 80 grit sandpaper
- 12 grit sandpaper
- 180 grit sandpaper
- Disposable gloves
2. Prevent the undercoat from getting on the floor.
Stick some painter’s tape on the section where the wall meets the floor to prevent drips. It is also recommended to lay drop cloths to protect the floor.
3. Prepare your walls.
Before painting over the walls, you must ensure that your walls have been properly prepared. Using the filler, fix all the gaps, creases, and cracks on your walls.
Once the filler is completely dry, sand it back. Make sure that you have your safety glasses and dust mask on while sanding using fine-grade sandpaper such as 120 grit. Orbital sanders are recommended for large areas, while small areas can be hand sanded.
4. Wipe down your walls with a clean, damp cloth.
When done sanding, clean your walls using a damp cloth. Make sure to remove all dust and grime, and let it completely dry. This is an essential step as the undercoat won’t adhere to the wall if it’s dirty.
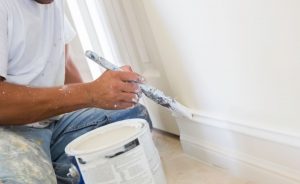
5. Cut in the undercoat.
Cut in around the edges and corners using a paintbrush as these areas can’t be reached by paint rollers. If you’re painting on a new wall, the best practice is to paint before putting on the skirting boards.
6. Apply the undercoat using a paint roller.
Once you’re finished cutting in, use a paint roller to paint the rest of the walls. An extension pole for your paint roller might come in handy for reaching high sections of the wall. To achieve an excellent finish, it is recommended to work in small areas of about 1 sq. m. at a time.
7. Remove the painter’s tape.
About an hour after painting, peel off the painter’s tape carefully by holding the end of the tape at a 45-degree angle from the wall. It is not recommended to wait until the undercoat is completely dry because it may crack or lift as you peel the painter’s tape off.
8. Clean up.
Now that you’ve applied the undercoat and you’ve accomplished all the steps, all you need to do is to clean up your paintbrushes and rollers.
Once completely dry, it’s time to finish the wall by repeating the process or masking, cutting in, and rolling, but this time with your chosen paint color.
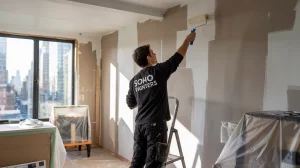
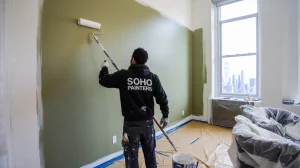
The Best Painting Contractor in New York
Through this article, you should be able to understand the importance of applying undercoat and how to do it properly. While DIY home painting can be fulfilling, know that it requires skill, time, effort, patience, and know-how to accomplish the project. Not to mention that choosing the right undercoat can be a bit of a challenge as there are a lot of available products out there.
So if you want to transform your space the easy way, simply hire a reliable painting contractor to do everything for you– from the preparation to the actual painting of your walls.
Soho Painters is the best painting company in New York for both residential and commercial painting projects. Our team can also deliver other services such as drywall installation, wallpapering, Venetian plaster, custom murals, and power washing.
Ready for your next project? Get in touch with us today so we can discuss how we can help you!